Your Go-To Guide for Designing a Rain Garden to Manage Stormwater & Improve Drainage
St. Louis Topsoil : Jan 26th, 2026
Rain has a habit of showing up whether your yard is ready for it or not. When water rushes off your roof and into the street, it doesn’t just disappear—it carries sediment, pollutants, and excess runoff straight into local waterways.
A rain garden provides a strategic place for water to go.
Designed to capture and absorb runoff, rain gardens slow water down, filter it naturally through soil and plants, and help reduce flooding and erosion. When built correctly, they’re a smart way to manage stormwater—while adding a landscape feature that actually works.
This guide walks you through how to create a rain garden that does its job. You’ll learn where to put it, how to size it, how to test your soil, and why the right soil mix matters. Whether you’re dealing with roof runoff, pooling water, or just want a better way to manage rain, we’ll break it down without overcomplicating things.
Let’s dig in!
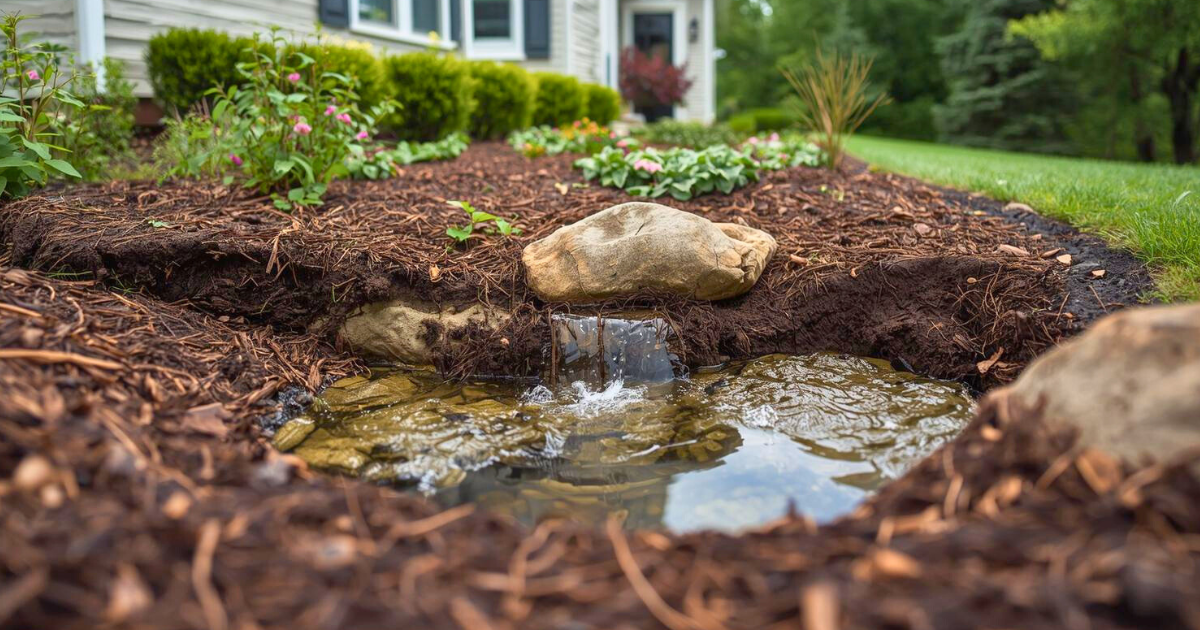
According to the Groundwater Foundation, a rain garden is a shallow, sunken planting area designed to temporarily capture and infiltrate rainwater runoff from roofs, driveways, patios, or lawns. (1) They’re also known as bioretention cells or areas.
It’s also important to note what a rain garden isn’t—it’s not a pond, wetland, or water feature. A properly designed rain garden is dry most of the time, holding water only during and shortly after a rain event. The water typically infiltrates into the soil within 12 to 48 hours, which helps prevent mosquito issues and keeps plants healthy. (1)
Rain gardens do more than enhance your curb appear albeit a major perk! When designed properly, they:
Think of your home as a mini watershed. Rain lands on your roof, travels through gutters and downspouts, and usually heads straight to the street.
A rain garden interrupts that path—giving water a place to slow down, soak in, and get filtered along the way. But for that to happen, placement, sizing, and soil all matter.
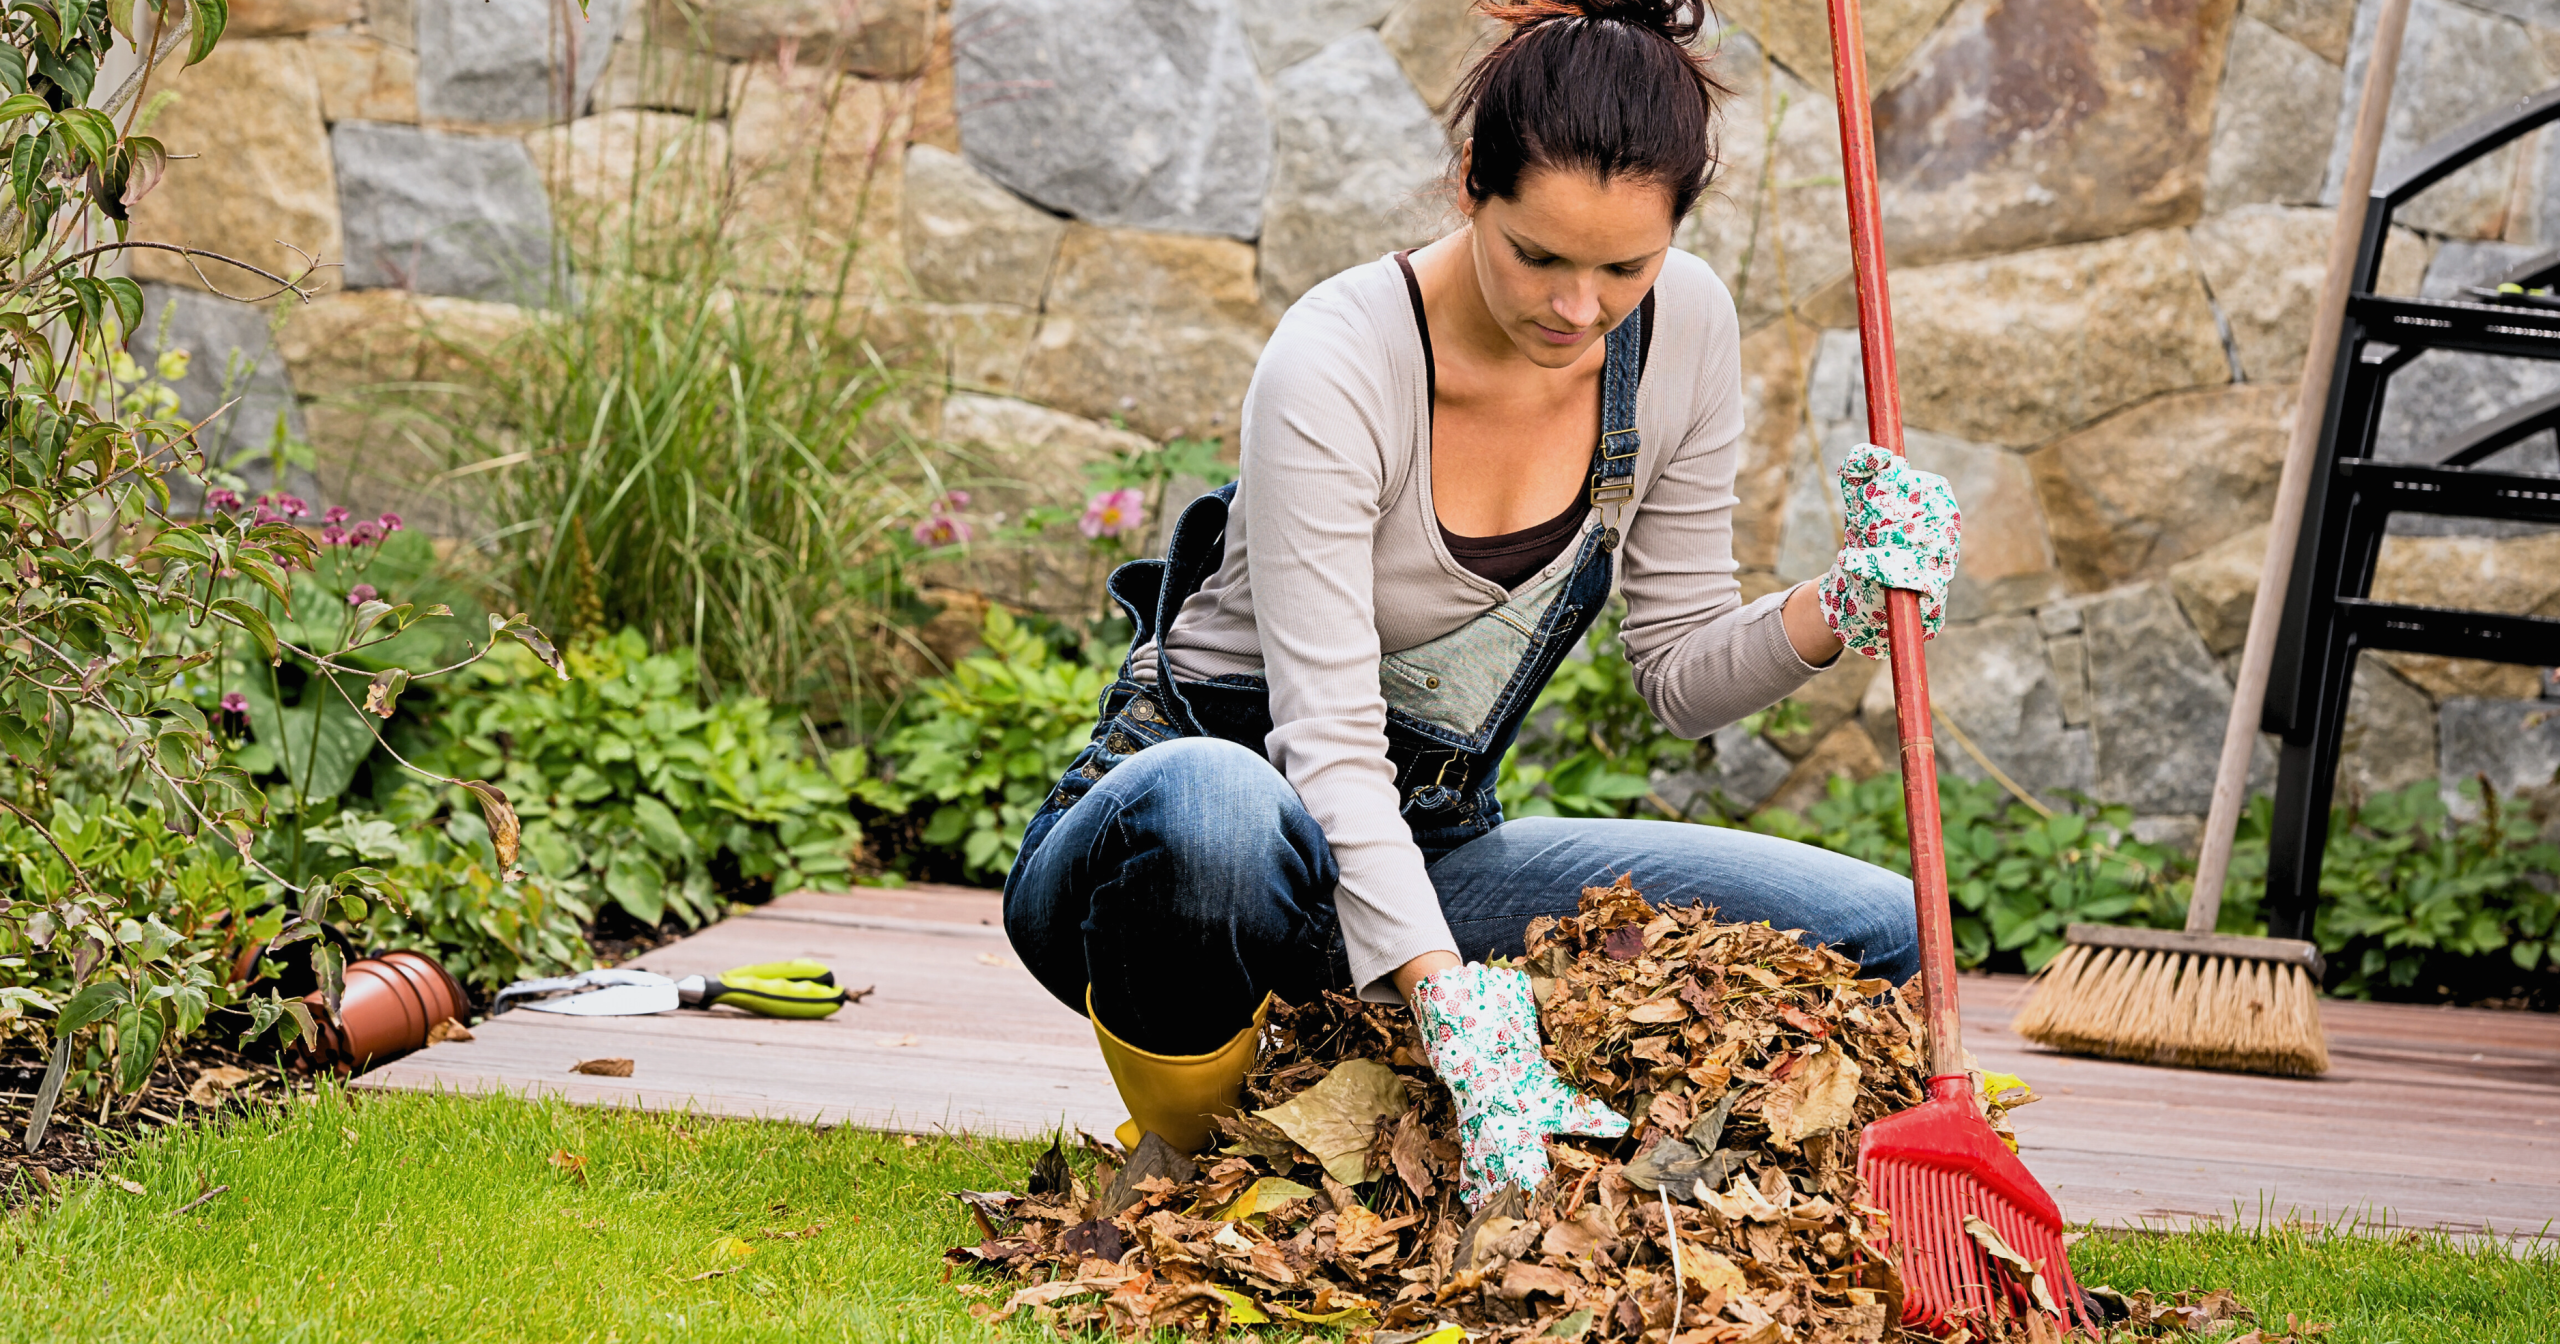
Start by observing your property after a rainstorm. Look for:
Downspouts draining a large section of your roof are ideal candidates. If water already wants to flow there, you’re working with nature instead of fighting it.
Here are placement guidelines to get you started:
Rain gardens aren’t one-size-fits-all.
The size of your rain garden should be based on how much water it receives—usually determined by the roof area feeding the downspout.
Sizing your garden correctly helps ensure:
Bigger roofs = bigger rain gardens.
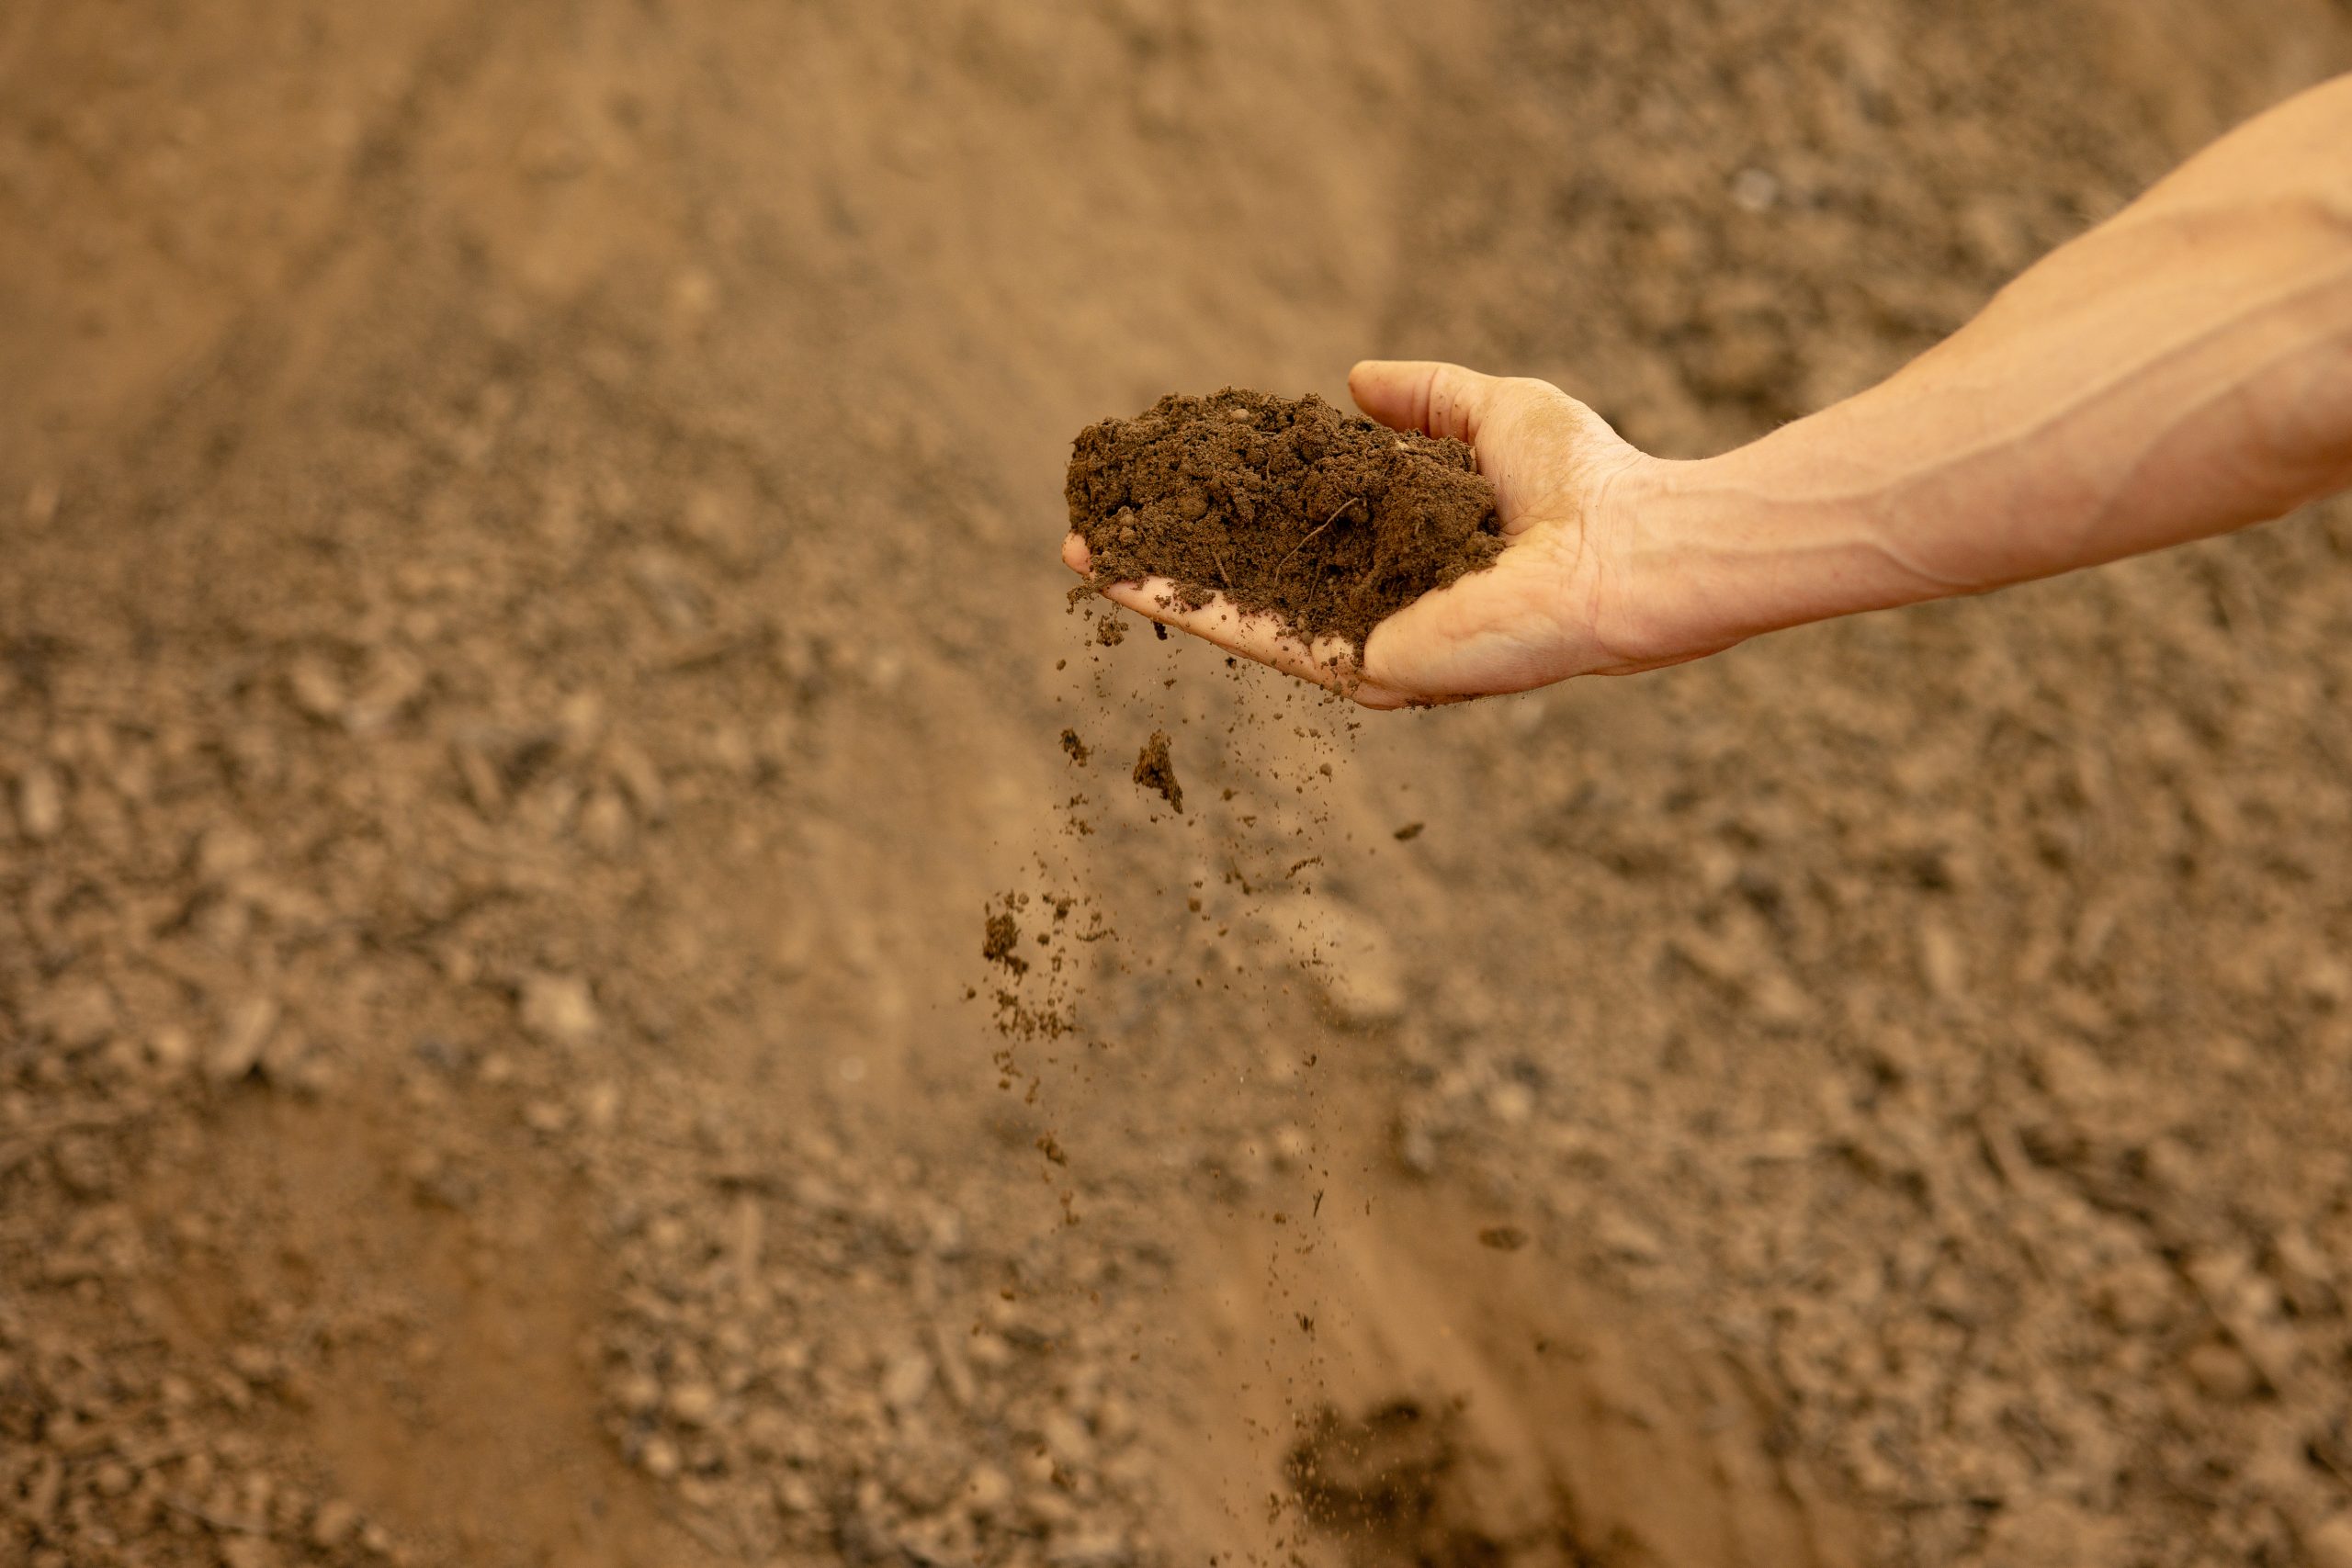
Before digging, perform a soil infiltration test in the center of your planned rain garden. This tells you how quickly water soaks into the soil—and whether improvements are needed.
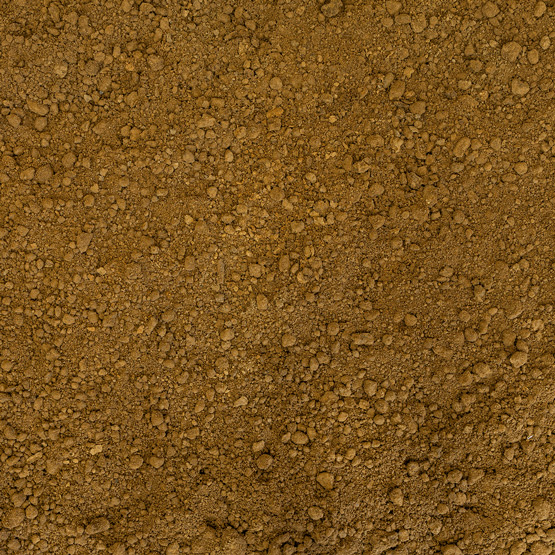
In many areas, like in St. Louis, soil contains a lot of clay. Clay isn’t bad, but it drains slowly, which means rain gardens often need soil amendments or an engineered mix to function properly.
If water sits too long during your test, don’t panic. It just means the soil needs help.
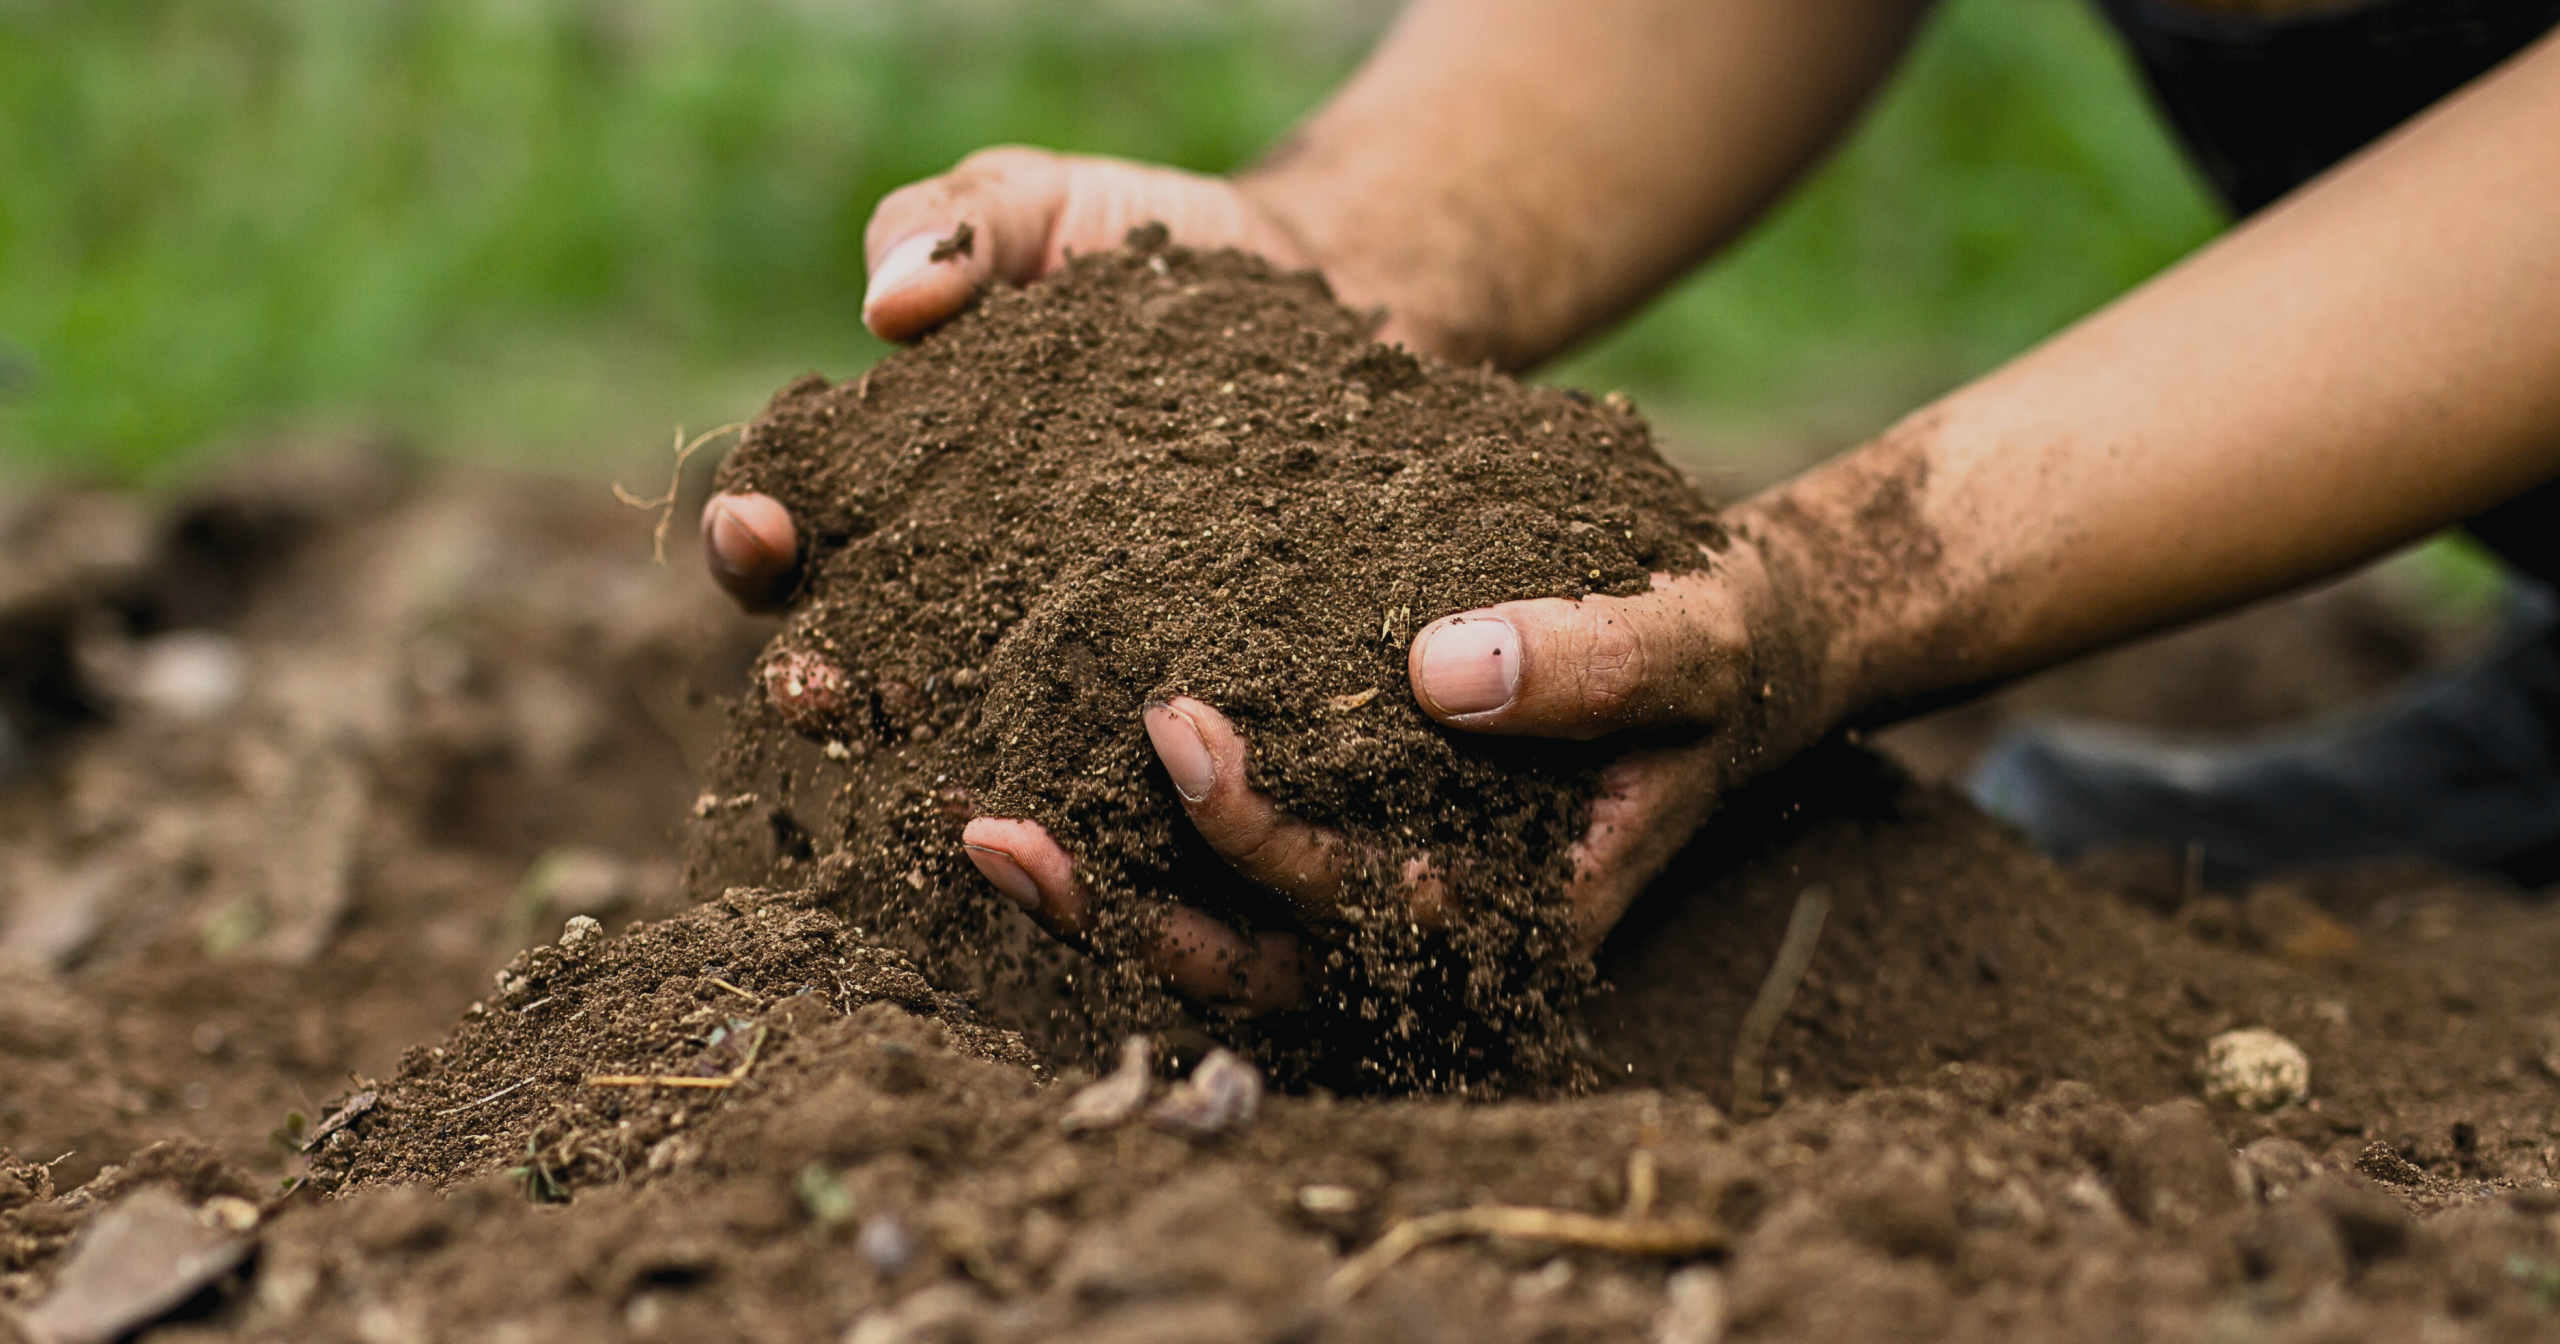
Soil is the engine of a rain garden. A successful rain garden relies on soil that:
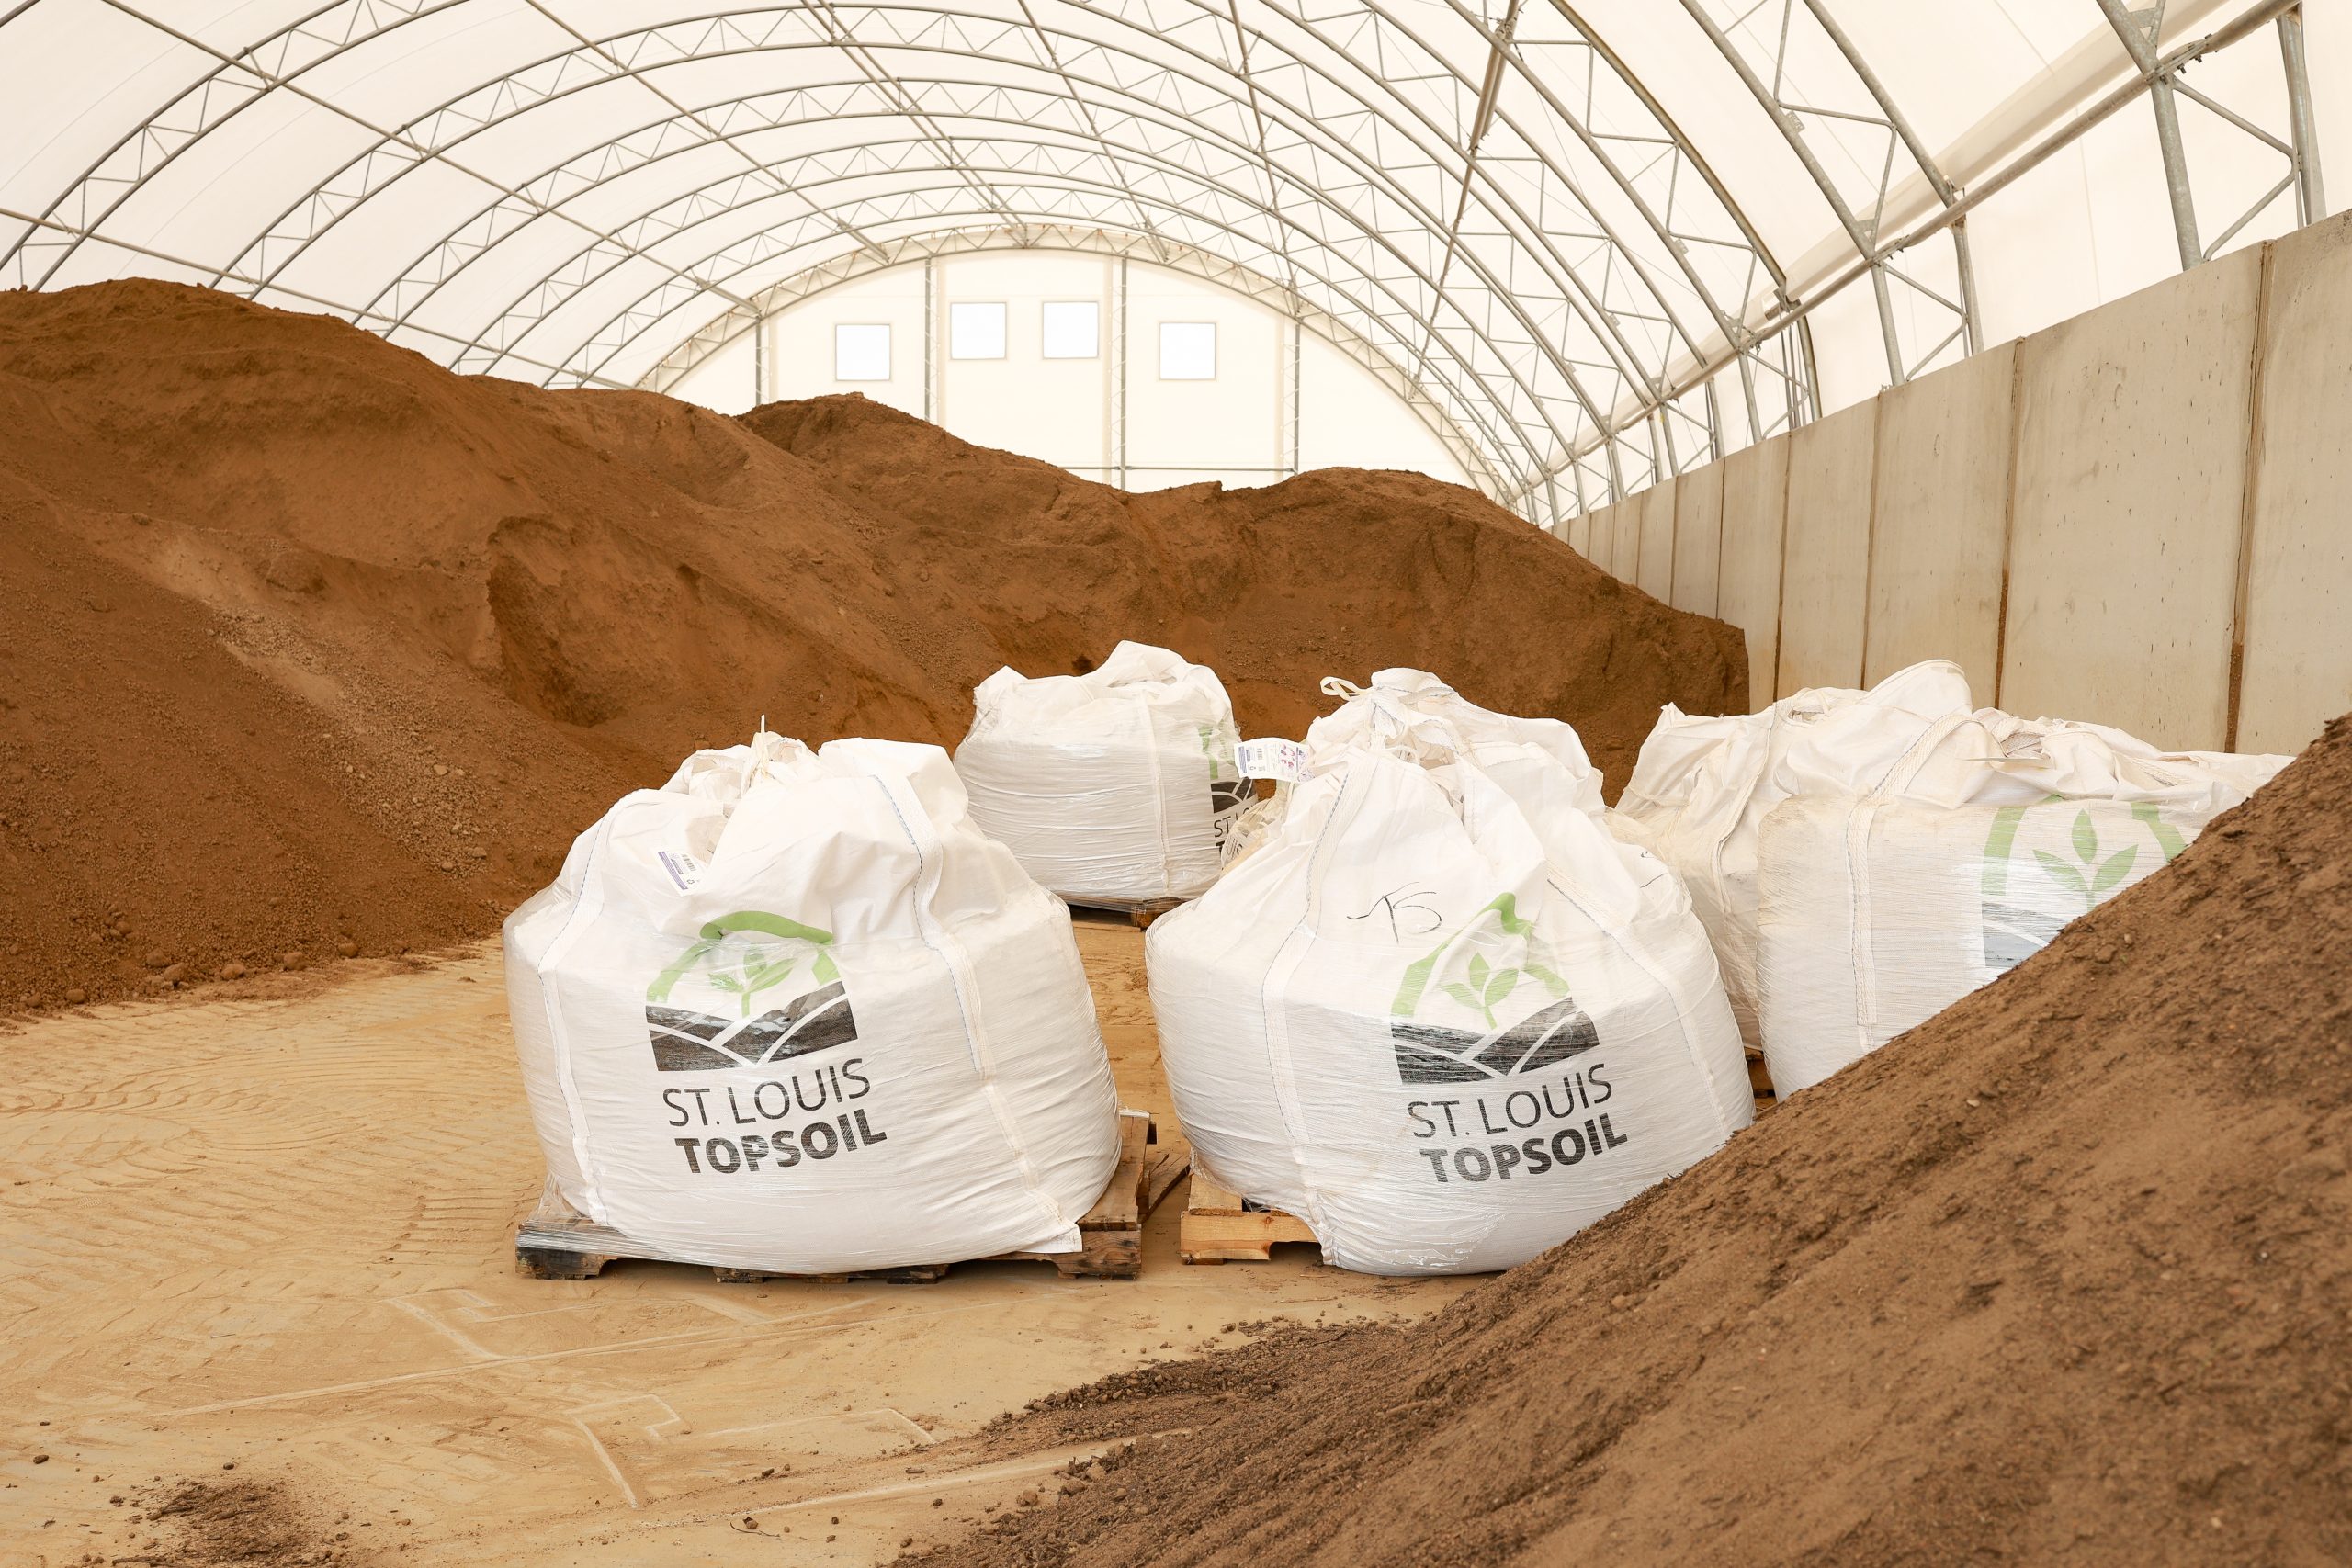
That’s why many rain gardens use a custom-engineered rain garden mix rather than native soil alone. These mixes are designed with a balanced sandy-soil composition that improves infiltration while still supporting healthy plant growth.
For both residential rain gardens and larger bioretention systems, the right soil makes the difference between water soaking in or flowing right past.
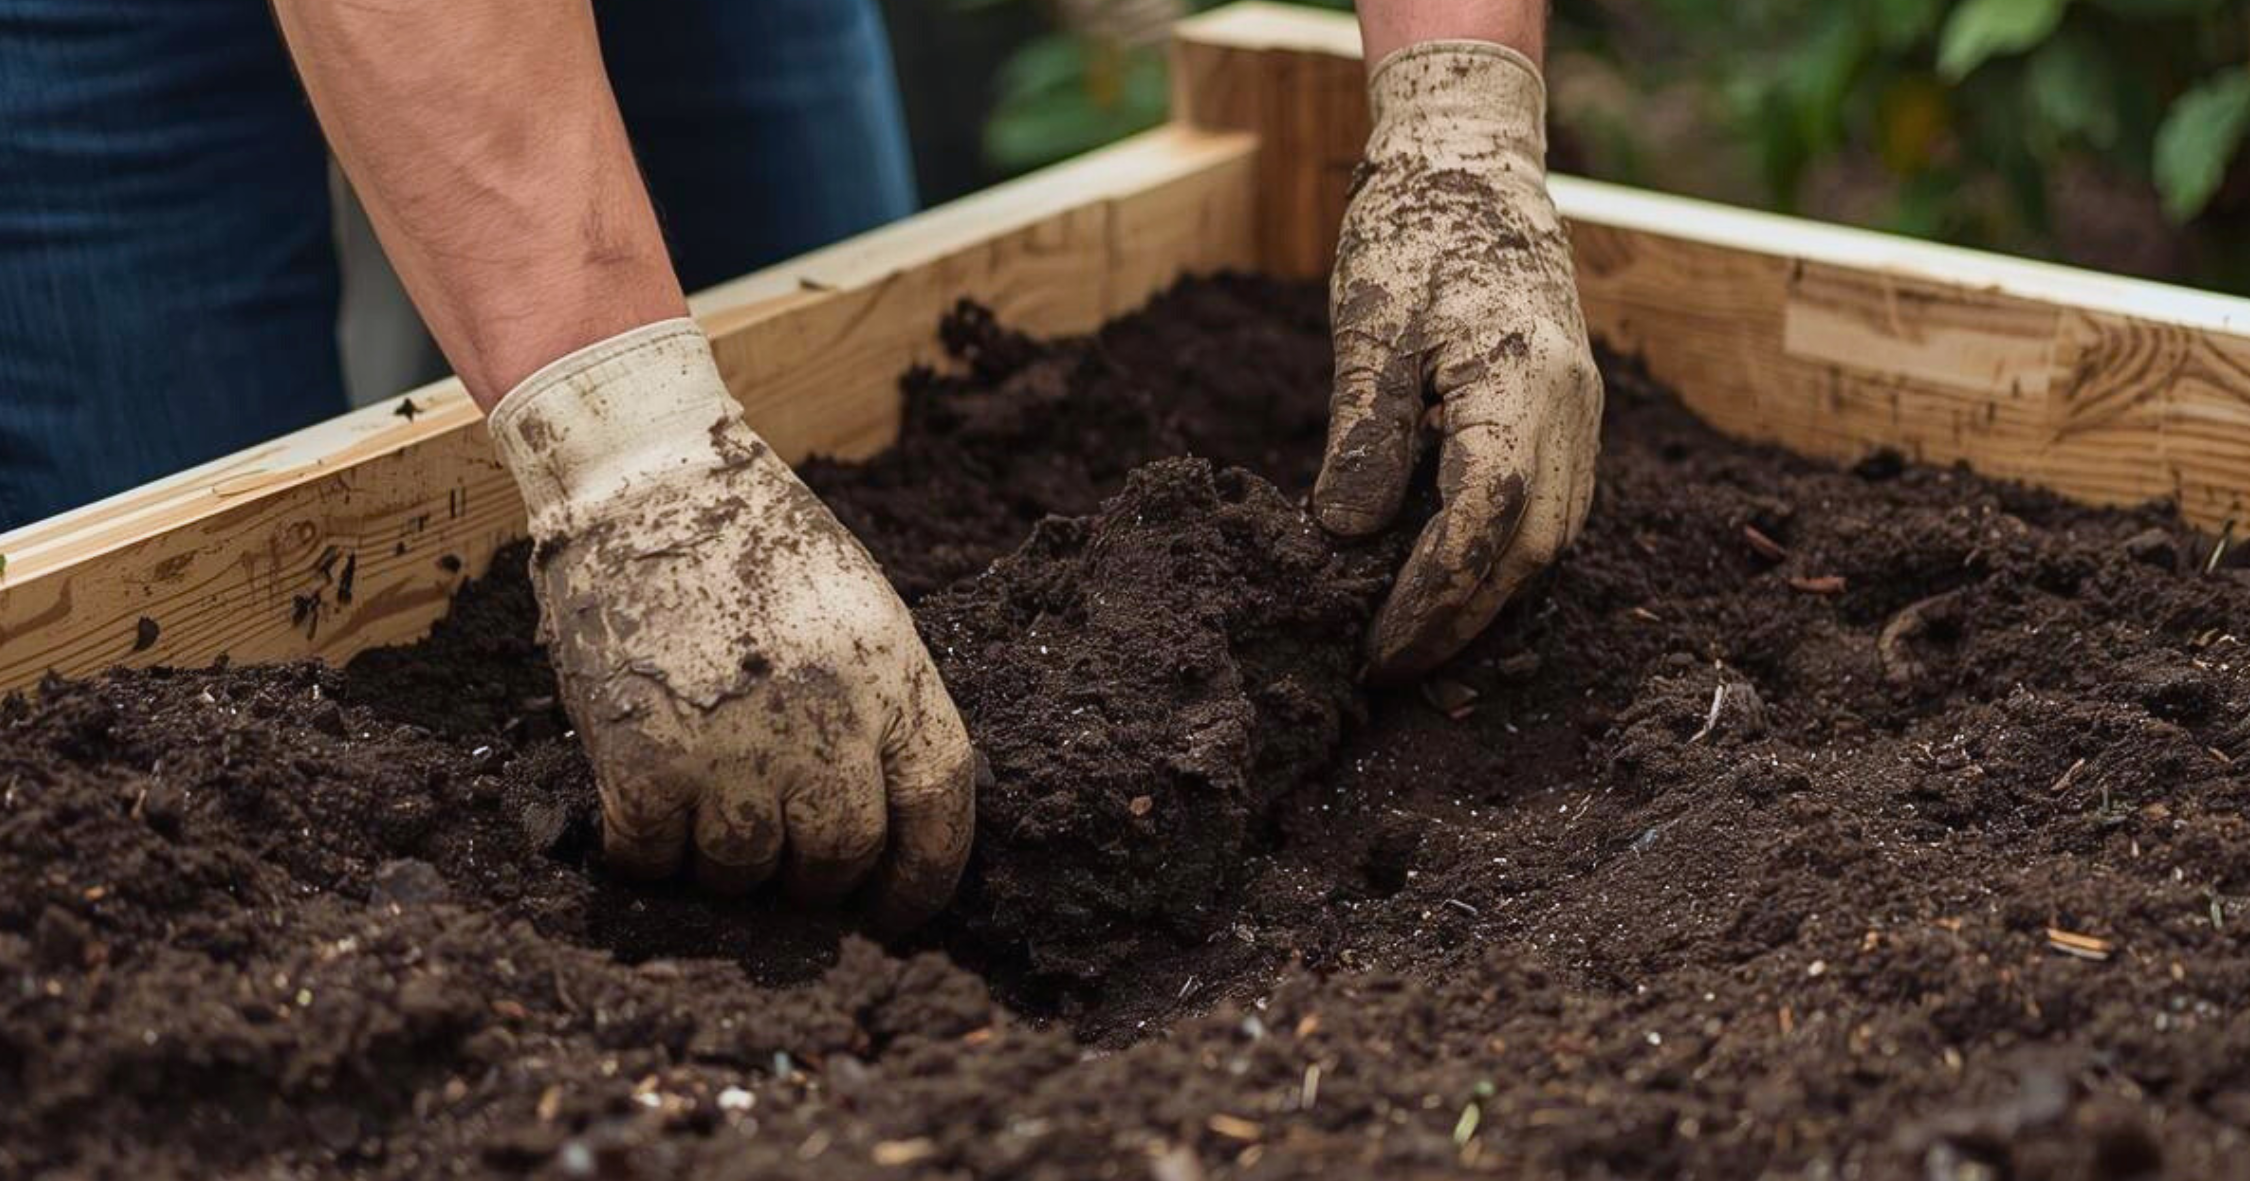
Once soil conditions are confirmed, trace the perimeter of your rain garden.
As you dig:
Before digging, always call 811 at least two business days in advance to locate underground utilities.
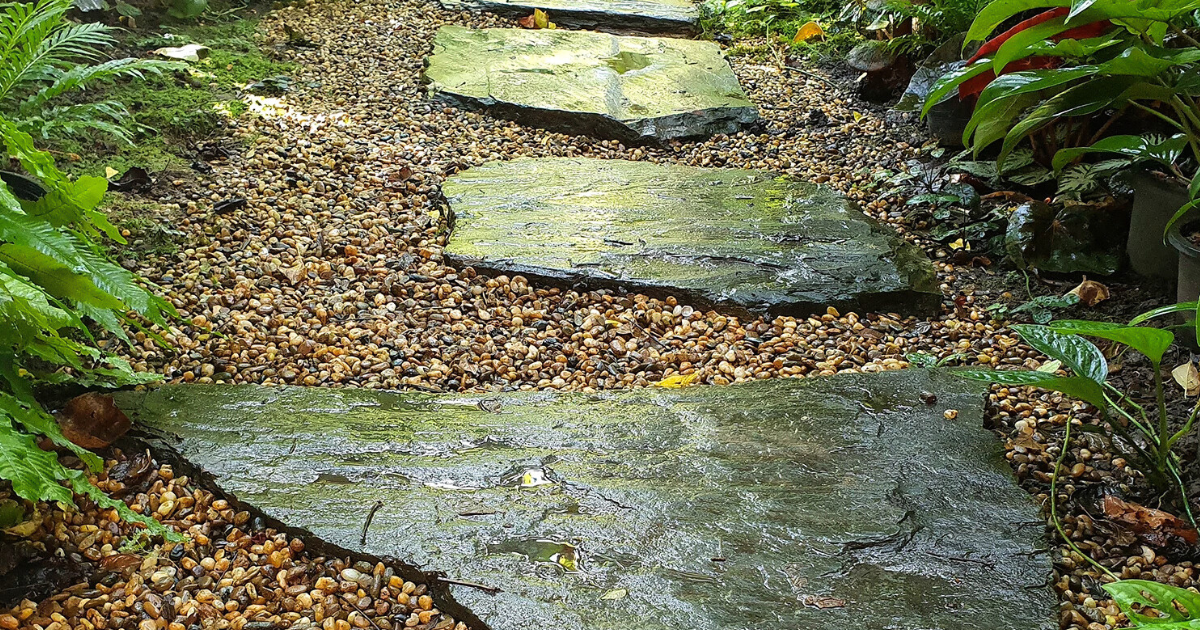
Many rain gardens include layered materials to improve performance, such as:
These layers slow water movement, reduce erosion, and create long-term stability.
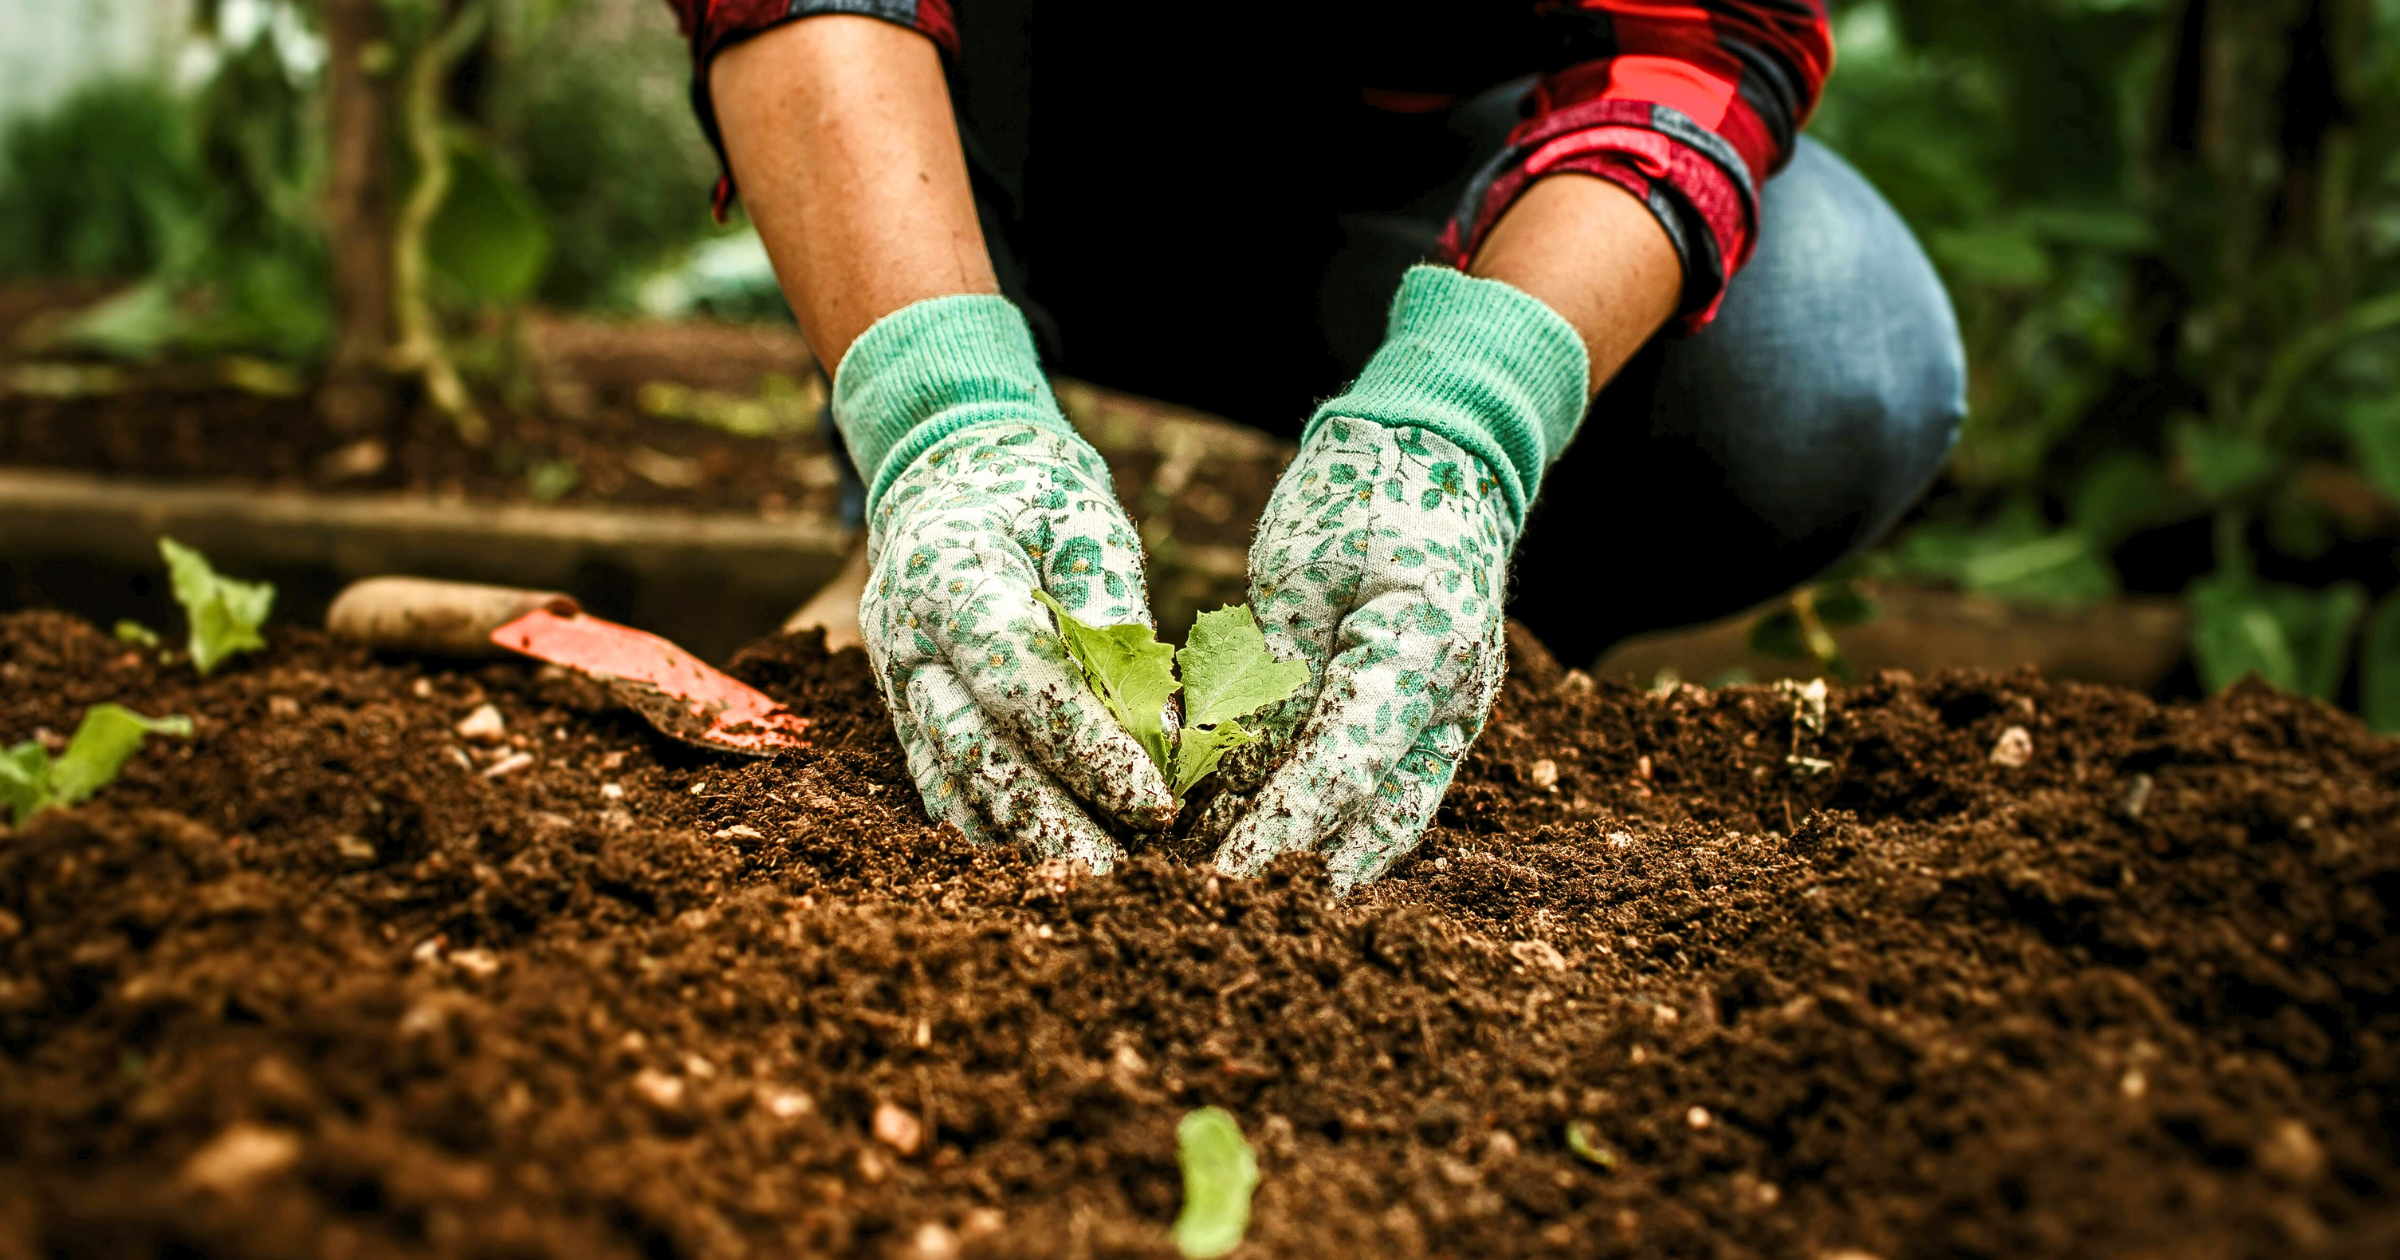
Rain gardens naturally have wetter and drier areas—and plants should be placed accordingly, such as:
Native plants are ideal because they:
Once planting is complete, disconnect or redirect the downspout so runoff flows directly into the rain garden. This is when the system officially goes live.
Rain gardens are low-maintenance once established. Here are simple tips to maintain your rain garden.
Early on care:
Long-term care includes:
After a few years, rain gardens require minimal input—while continuing to manage stormwater quietly and effectively.
A rain garden isn’t just a landscaping feature; it’s a functional stormwater solution. When it’s sized correctly, placed intentionally, and built with soil designed for infiltration, it helps manage runoff, reduce erosion, and protect local waterways for years to come.
With a little planning upfront—and the right rain garden soil mix—you can build a system that looks good, works hard, and holds up over time.
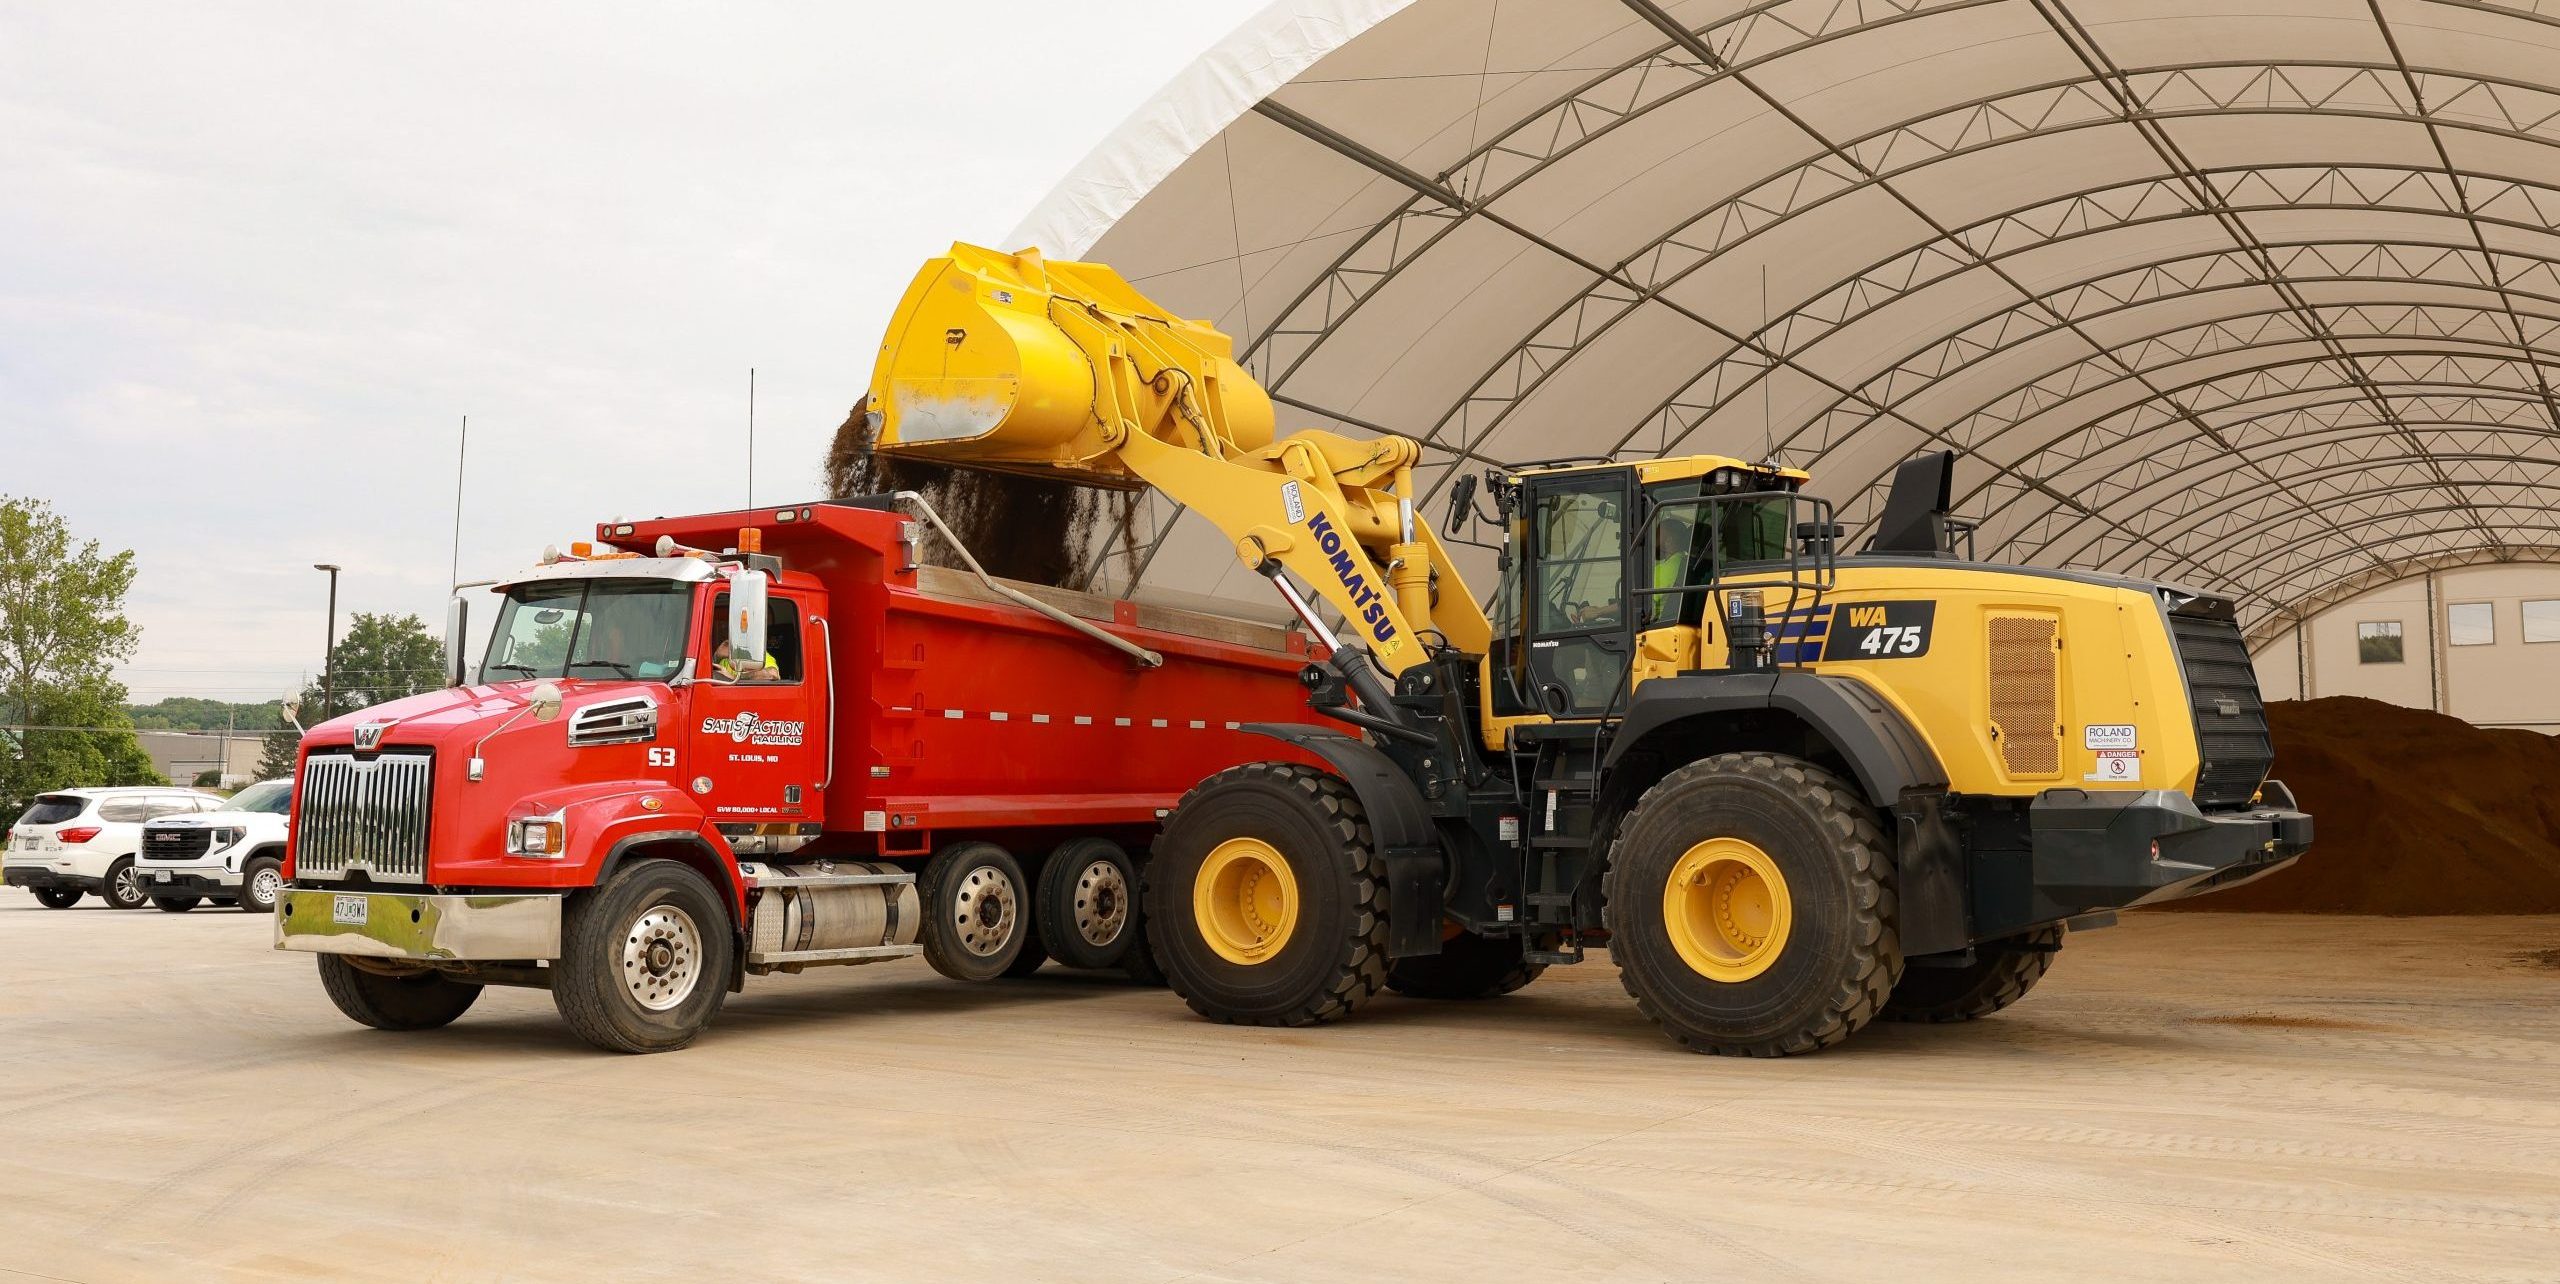
If you’re local, St. Louis Topsoil can help confirm quantities, recommend the right rain garden mix, and deliver directly to your site—so you can build with confidence.
What is a rain garden?
A rain garden is a shallow, sunken planting area designed to capture and absorb runoff from roofs, driveways, patios, and other hard surfaces. Instead of sending water to storm drains, a rain garden allows it to soak into the ground naturally through soil and plant roots.
Can I build a rain garden in clay soil?
Yes, but clay soil often drains slowly, so rain gardens in clay-heavy areas usually need soil amendments or an engineered rain garden mix to improve infiltration and prevent standing water.
References


Planting may seem as simple as digging a hole and setting in a shrub, flower, or tree—but the small details matter. How you prepare the soil, handle the roots, and care for the plant in the first few weeks can…